
When my son grew out of his comfy pants I just couldn't let them go; I thought there had to be a way that my daughter could wear them too!
I'm sure you could go from girl to boy too if the pants were "boy colors"; you could make patches that looked like animals, sport related things, vehicles or monsters of some sort!

So, for my boy to girl pants conversion this is what I came up with...

Materials:
-comfy pants {I had 3 pair from my son}
-sewing machine
-knit fabric scraps
-coordinating thread
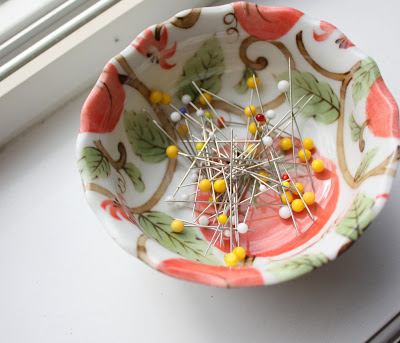
-sewing pins
-scissors
-iron
Process:
1. To make the ruffles on the bottom of the pant legs, cut long strip {about 20-24 inches by about 3-4 inches}.
2. Fold the strip in half "hotdog-style" and iron.

3. Fold the ironed strip in half lengthwise and cut at the center.

4. Sew the ends of the strips together to form a circle.

5. Pin the circles to the inside of each pant leg, gathering evenly to create the ruffled look.


6. Sew, using a straight stitch around the outside of the pant legs. {I sewed right over the pins and removed the pins after sewing the ruffle in place.}


7. At this point I choose a decorative stitch to sew over the straight stitch to reinforce the stitch and add a decorative touch.


8. Next, I needed to cover up/change the print on the front of the pants. I thought the best way to do this would be to make a patch. {You could probably paint over it with fabric paint too, but I thought a patch would be cuter.}
Measure or eyeball the size of patch you will need.


Extra touches:
Remove the old tie and replace it with a pretty coordinating ribbon.


